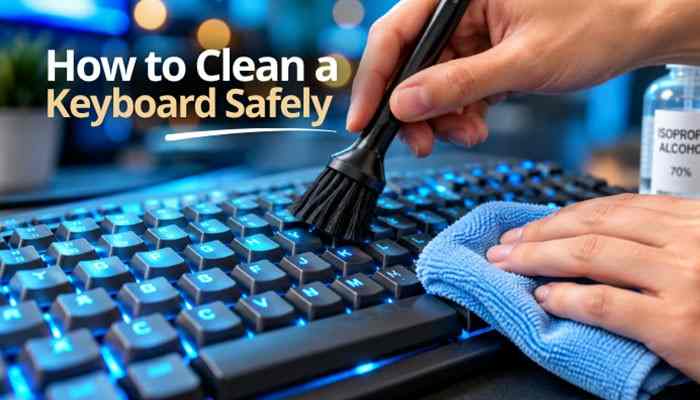

Learning how to clean a keyboard properly can improve your typing experience, remove crumbs and dust, and help prevent sticky or unresponsive keys. A keyboard collects skin oils, hair, food particles, dust, and other debris during everyday use. The good news is that routine cleaning usually takes only a few minutes.
After cleaning many types of computer accessories, one lesson matters more than anything else: use as little liquid as possible. A keyboard contains electronic components beneath the keys, and soaking the surface or spraying cleaner directly onto it can cause damage. The safest approach is to disconnect the device first, remove loose debris, and then clean the surface carefully with a microfiber cloth.
This 2026 guide explains how to clean a keyboard safely, including laptop, desktop, wireless, membrane, and mechanical keyboards. You will also learn how to clean between keys, remove keycaps safely, deal with sticky keys, respond to spills, disinfect the surface, and keep your keyboard cleaner in the future.
Why Should You Clean Your Keyboard?
A dirty keyboard is more than a cosmetic problem. Dust and crumbs can settle between or underneath the keys. Over time, debris may interfere with key movement and make some keys feel rough, sticky, or inconsistent.
Regular cleaning can help:
- Remove dust and crumbs
- Reduce oily buildup on keycaps
- Keep keys moving freely
- Improve the appearance of your workspace
- Reduce the chance of debris accumulating below keys
- Make routine maintenance easier
- Help maintain a comfortable typing experience
Cleaning is especially useful for keyboards used every day in offices, schools, shared workspaces, gaming setups, and homes.
What Do You Need to Clean a Keyboard?
You do not need an expensive keyboard-cleaning kit for most jobs.
| Cleaning item | Main purpose | Required? |
| Microfiber cloth | Wiping keys and case | Yes |
| Soft brush | Loosening dust and crumbs | Recommended |
| Compressed air | Removing debris between keys | Optional |
| Cotton swabs | Cleaning narrow spaces | Recommended |
| Isopropyl alcohol | Removing stubborn grime/disinfecting compatible surfaces | Optional |
| Keycap puller | Removing compatible mechanical keycaps | For deep cleaning only |
| Mild dish soap | Washing removable keycaps | For deep cleaning only |
| Small bowl | Soaking removable keycaps | For deep cleaning only |
Before using alcohol or another cleaning product, check the keyboard manufacturer’s instructions. Materials, coatings, printed legends, and finishes vary between products.
How to Clean a Keyboard: Quick Step-by-Step Method
If your keyboard only has ordinary dust, fingerprints, and a few crumbs, you usually do not need to take it apart.
Here’s how to clean a keyboard safely for routine maintenance.
Step 1: Turn Off and Disconnect the Keyboard
Start by removing power.
For a wired keyboard:
- Shut down the computer if necessary
- Disconnect the keyboard
For a wireless keyboard:
- Switch it off
- Remove replaceable batteries when practical
For a laptop:
- Shut it down completely
- Disconnect the charger and accessories
Do not clean an electronic keyboard while it is powered if moisture could be involved.
Step 2: Remove Loose Crumbs
Hold a removable keyboard upside down over a desk mat, towel, or waste bin. Gently tilt and tap it to encourage loose crumbs and dirt to fall out.
Do not aggressively shake the keyboard. You are trying to release loose material, not stress internal components. Laptop users should be even more careful. Avoid shaking the entire computer.
Step 3: Brush Between the Keys
Use a clean, soft-bristle brush to loosen dust trapped around the keys. Work slowly across the keyboard instead of pushing all the dirt toward one area.
Pay particular attention to:
- Spacebar
- Enter key
- Shift keys
- Arrow-key area
- Number pad
- Edges of the keyboard
These areas can collect considerable debris.
Step 4: Use Compressed Air Carefully
Compressed air can help remove material that a brush cannot easily reach. Hold the keyboard at an angle and use short, controlled bursts between the keys. If you are using canned compressed air, follow the manufacturer’s handling directions and keep the can in its recommended orientation.
The goal is to move debris out of the keyboard rather than drive it farther underneath the keys.
Step 5: Wipe the Keycaps
Use a clean microfiber cloth to wipe the top and sides of the keys. For ordinary dirt, a dry or very slightly damp cloth may be enough.
For stubborn grime, use only a cleaning method compatible with your keyboard manufacturer’s instructions. Apply cleaning liquid to the cloth, not directly to the keyboard.
Step 6: Clean Around the Keys
A cotton swab can reach narrow spaces around individual keys. It should be dry or only lightly moistened when appropriate. Never use a dripping-wet cotton swab.
Move around the edges of each dirty key without forcing the swab beneath delicate mechanisms.
Step 7: Let Everything Dry
Allow the keyboard to dry fully before reconnecting power. Inspect the spaces around the keys for visible moisture. When everything is completely dry, reconnect the keyboard and test it.
How to Clean a Keyboard Without Removing the Keys
You do not have to remove keycaps for routine cleaning. In fact, leaving the keys installed is often the safer choice for laptop and membrane keyboards.
To clean without removing keys:
- Disconnect or power off the device
- Tilt the keyboard
- Loosen debris with a soft brush
- Use compressed air carefully if appropriate
- Wipe key surfaces with a microfiber cloth
- Clean narrow gaps with a cotton swab
- Allow any moisture to dry before restoring power
This method works well for weekly or monthly maintenance.
How to Clean a Mechanical Keyboard
Mechanical keyboards are often easier to deep-clean because many models have removable keycaps. However, check the manufacturer’s instructions before pulling anything apart.
Take a Photo First
Before removing keycaps, take a clear picture of the entire keyboard. This simple step makes reassembly much easier.
It is particularly useful for:
- Function keys
- Number rows
- Modifier keys
- Non-standard layouts
- Gaming keyboards
Remove Compatible Keycaps
Use a proper keycap puller where possible. Pull normal keycaps vertically and carefully rather than twisting them aggressively.
Large keys such as the spacebar, Enter, Backspace, and Shift may use stabilizers. These can require a different removal technique. If you are uncertain, leave those keys installed and check the keyboard’s manual.
Clean the Exposed Plate
Once the compatible keycaps have been removed:
- Use a soft brush to loosen dirt
- Remove loose debris with controlled air
- Use a suitable lint-free cleaning tool for remaining grime
- Avoid flooding switches with liquid
Do not casually disassemble switches, stabilizers, or the keyboard case unless the product is designed for user servicing and you know the correct procedure.
Wash Removable Keycaps
Many removable plastic keycaps can be cleaned separately with mild dish soap and warm, not hot water.
A simple method is:
- Place the removed keycaps in a bowl
- Add warm water and a small amount of mild dish soap
- Gently agitate them
- Rinse thoroughly
- Spread them on a clean towel
- Allow them to dry completely before reinstalling
Never put damp keycaps back onto the keyboard. Also check manufacturer guidance before soaking unusual, coated, printed, wooden, metal, or specialty keycaps.
How to Clean a Laptop Keyboard
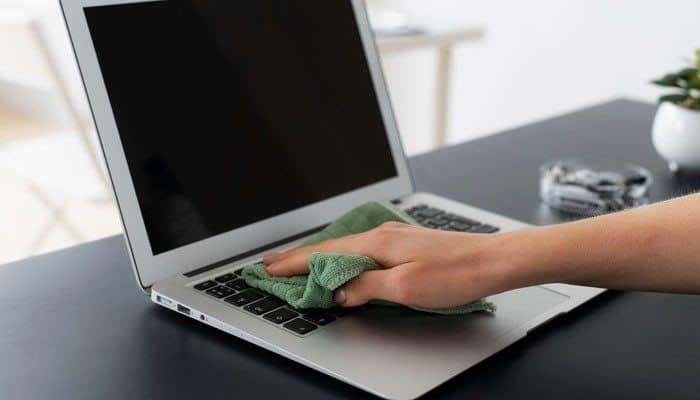
Knowing how to clean a keyboard on a laptop is especially important because the keyboard sits directly above sensitive internal hardware.
Do not treat a laptop keyboard like a removable desktop keyboard.
Safe Laptop Keyboard Cleaning
- Shut down the laptop
- Disconnect its charger and accessories
- Use a soft brush to loosen debris
- Carefully remove loose particles from between the keys
- Wipe the keys with a soft lint-free cloth
- Use minimal moisture
- Let the keyboard dry completely before turning the laptop back on
Avoid removing laptop keycaps unless the manufacturer specifically provides instructions for doing so. Scissor-switch mechanisms and retaining clips can be fragile and may break during removal.
Apple, for example, advises turning off and unplugging Mac laptops before cleaning and recommends keeping moisture away from openings. Apple also says cleaning products should not be sprayed directly onto the device.
How to Clean a Membrane Keyboard
A membrane keyboard works differently from a typical mechanical model.
For routine cleaning:
- Disconnect it
- Turn it upside down gently
- Remove loose debris
- Brush between keys
- Wipe the exterior and key surfaces
- Allow it to dry
Do not assume that membrane keyboard keycaps are removable simply because they look similar to mechanical keycaps.
Deep disassembly can damage clips, rubber domes, membranes, or other internal parts. Consult the model’s instructions before opening the case.
How to Clean a Wireless Keyboard
The cleaning process for wireless keyboards is similar to the method for wired models, but power management deserves extra attention.
Before cleaning:
- Switch the keyboard off
- Remove replaceable batteries where appropriate
- Disconnect any charging cable
- Keep moisture away from charging ports
- Keep liquids away from the battery compartment
Once cleaning is complete, wait until the keyboard is fully dry before restoring power.
How to Clean Sticky Keyboard Keys
Sticky keys can be caused by several things, including:
- Food residue
- Sugary drinks
- Skin oils
- Dirt around the key
- Debris below a keycap
- Mechanical damage
First, turn off or disconnect the keyboard.
Clean around the affected key with a soft brush and a suitable cotton swab. If it is a mechanical keyboard with safely removable keycaps, remove the affected keycap and inspect underneath it.
If a key remains sticky after visible contamination has been removed, the problem may be inside the switch or key mechanism rather than on the surface.
Avoid repeatedly adding liquid in an attempt to fix it. Internal cleaning or component replacement may be required.
How to Clean a Keyboard After a Liquid Spill
A spill requires a different response from ordinary cleaning. Speed matters, but restoring power too soon can make the situation worse.
If liquid enters a keyboard:
- Disconnect power immediately
- Unplug a wired keyboard
- Switch off a wireless keyboard
- Shut down a laptop if its keyboard was affected
- Disconnect the laptop charger
- Blot visible liquid with a lint-free cloth
- Position a removable keyboard so excess liquid can drain without spreading it farther
- Do not reconnect it until it has thoroughly dried
Sugary drinks, coffee, juice, and other beverages can leave residue even after the water evaporates. A heavily contaminated laptop or expensive keyboard may need professional service. Do not use rice as a substitute for proper drying and cleaning.
Can You Use Alcohol to Clean a Keyboard?
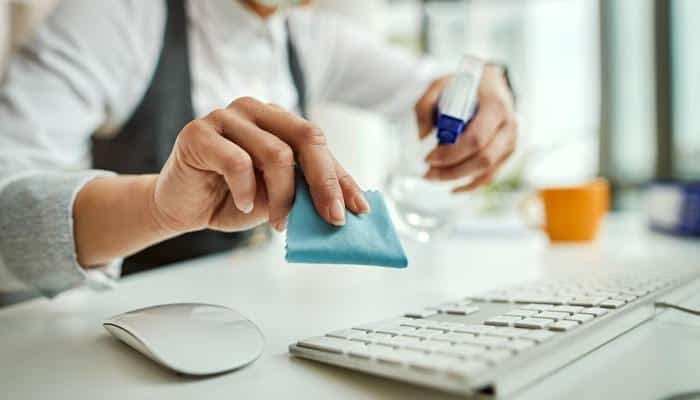
Sometimes but manufacturer guidance takes priority. Apple says a 70% isopropyl alcohol wipe or 75% ethyl alcohol wipe can be used gently on certain hard, non-porous exterior surfaces, including keyboards. It also warns against getting moisture into openings or spraying cleaning products directly onto products.
Keyboard construction varies widely, however. Alcohol can affect some coatings, finishes, printed legends, adhesives, and plastics.
Therefore:
- Check your manufacturer’s instructions
- Apply cleaner to a cloth or swab rather than pouring it onto the keyboard
- Use very little liquid
- Avoid soaking openings
- Test questionable products on an inconspicuous area when appropriate
Interestingly, cleaning recommendations can differ even among manufacturer guides. That is another reason to follow the instructions for your specific model, rather than treating one alcohol concentration as universally correct.
What Should You Never Use on a Keyboard?
When learning how to clean a keyboard, knowing what not to do can prevent expensive mistakes.
Avoid:
- Pouring water directly onto the keyboard
- Spraying cleaner directly between keys
- Submerging an assembled electronic keyboard
- Using dripping-wet cloths
- Using abrasive scrubbers
- Scraping keys with sharp metal objects
- Applying harsh household chemicals without manufacturer approval
- Using excessive force on keycaps
- Reconnecting a keyboard while moisture remains inside
- Removing laptop keys without checking their removal method
Apple specifically advises avoiding abrasive materials, aerosol sprays, bleach, and excessive moisture when cleaning its products.
How Often Should You Clean Your Keyboard?
There is no universal cleaning schedule because usage conditions differ.
A practical schedule is:
| Situation | Suggested maintenance |
| Visible crumbs or dirt | Remove immediately |
| Regular home use | Quick clean every 1–4 weeks |
| Heavy daily use | Quick clean weekly |
| Shared keyboard | Clean high-touch surfaces more frequently |
| Mechanical keyboard | Deeper clean when buildup becomes noticeable |
| Food/drink spill | Deal with it immediately |
| Sticky or poorly moving keys | Inspect and clean as needed |
HP recommends regular maintenance and notes that quick cleaning helps prevent debris from building up beneath mechanical keyboard keys.
You do not need to disassemble your keyboard every week. Regular surface cleaning can reduce how often deep cleaning becomes necessary.
Quick Cleaning vs. Deep Cleaning
Choosing the right cleaning level saves time and reduces unnecessary disassembly.
| Condition | Best approach |
| Light surface dust | Microfiber cloth |
| Crumbs between keys | Brush or controlled compressed air |
| Fingerprints/oil | Compatible lightly dampened cloth |
| Dirt around key edges | Cotton swab |
| Heavy mechanical-keyboard buildup | Remove compatible keycaps and deep-clean |
| Sticky key | Targeted inspection and cleaning |
| Liquid spill | Disconnect immediately and dry/inspect |
| Persistent malfunction | Repair or professional service |
The safest rule is simple: use the least invasive cleaning method that solves the problem.
How to Keep Your Keyboard Clean Longer
Once you understand how to clean a keyboard, prevention can dramatically reduce future work.
Try these habits:
- Wash and dry your hands before long computer sessions
- Avoid eating directly over the keyboard
- Keep open drinks away from the computer
- Remove crumbs as soon as you notice them
- Wipe oily keycaps regularly
- Keep your desk clean
- Store unused wireless keyboards somewhere protected from dust
- Perform quick cleaning before grime becomes difficult to remove
If you eat at your computer frequently, even a short weekly cleaning routine can prevent debris from becoming packed beneath the keys.
When Should You Replace or Repair a Keyboard Instead of Cleaning It?
Cleaning cannot solve every keyboard problem. Consider repair or replacement when:
- Keys remain unresponsive after safe cleaning
- A liquid spill has damaged the electronics
- Multiple keys type incorrect characters because of hardware failure
- Key mechanisms are physically broken
- Corrosion is visible
- A damaged cable or battery creates a safety concern
- The keyboard repeatedly disconnects despite troubleshooting
A dirty key and a failed switch can produce similar symptoms. If cleaning does not solve the issue, continuing to add cleaner is unlikely to help.
Conclusion
Knowing how to clean a keyboard is mostly about using simple tools carefully. Disconnect the device first, remove loose debris, clean with a soft microfiber cloth, keep moisture away from openings, and wait until everything is dry before restoring power.
The exact method depends on whether you have a laptop, mechanical, membrane, wired, or wireless keyboard. Mechanical models may support removable keycaps and deeper cleaning, while laptop keyboards usually require a gentler surface-cleaning approach.
Most importantly, do not wait until keys become packed with dirt. A few minutes of regular maintenance can keep your keyboard cleaner, more comfortable to use, and less likely to develop debris-related problems. Once how to clean a keyboard becomes part of your normal computer-care routine, deep cleaning should be needed far less often.
How to Clean a Keyboard FAQs
1. What is the safest way to clean a keyboard?
The safest basic method is to disconnect the keyboard, remove loose debris with a soft brush or controlled air, wipe the keys with a microfiber cloth, and let everything dry completely before reconnecting it.
2. How do I clean a keyboard without taking the keys off?
Turn off or unplug the device, tilt the keyboard, brush out loose debris, use compressed air carefully if appropriate, and wipe the keys with a soft microfiber cloth. This is sufficient for most routine cleaning.
3. Can I use alcohol to clean my keyboard?
It depends on the keyboard. Some manufacturers permit specific alcohol-based cleaning methods on certain surfaces. Always check the manufacturer’s instructions and never pour or spray alcohol directly onto the keyboard.
4. Can I wash keyboard keys with water?
Many removable plastic mechanical-keyboard keycaps can be washed separately with warm water and mild soap. They must be completely dry before reinstallation. Do not assume laptop or membrane keys can be treated the same way.
5. Can I vacuum my keyboard?
A gentle electronics-safe vacuum may remove loose debris, but brushes or controlled air are often easier to manage. Avoid strong suction or tools that could damage or pull off keycaps.
6. How often should I clean my keyboard?
For a heavily used keyboard, a quick weekly cleaning is sensible. Less frequently used keyboards may only need cleaning every few weeks. Clean spills and visible debris immediately.
7. Should I remove laptop keyboard keys for cleaning?
Usually not for ordinary maintenance. Laptop key mechanisms can be delicate. Clean around them without removal unless your manufacturer’s documentation explains how the keycaps can safely be detached.
8. How do I clean crumbs from under keyboard keys?
Disconnect the keyboard, tilt it, loosen crumbs with a soft brush, and use controlled compressed air where appropriate. Removable mechanical keycaps can be taken off for deeper access.
9. What should I do if water gets into my keyboard?
Disconnect power immediately, remove visible liquid, and allow the device to dry thoroughly. Do not keep pressing keys or reconnect the keyboard just to see whether it still works.
10. Why is my keyboard still sticky after cleaning?
Residue may have entered the switch or key mechanism, or the component itself may be damaged. If safe surface cleaning does not fix the problem, deeper servicing or replacement may be necessary.